

Calais Collection Disappearing Fountain Reservoir Reservoir and Grate Sold Separately
Starts at: $310.61
Brand: Stowasis
SKU:DFR2
MPN: 6595
Need accessories for this item?
View AccessoriesProduct Accessories

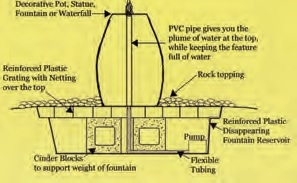
The Disappearing Fountain Reservoir is a catch basin used for in-ground fountain installation.
A disappearing fountain is a great way to add the sound of water to a garden or patio and can easily be created.
First, place the reservoir in the ground and select a pot, statue, or fountain. Then, add a submersible pump. Cover the grate with a variety of stones and pebbles, and you have created a disappearing fountain.
The reinforced reservoir provides ample space for water, pump, and plumbing.
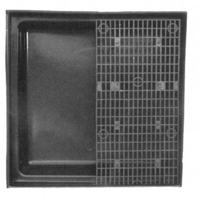
DFR2: 2X2 Disappearing Fountain Reservoir Comp
SQUARE BASIN W/ TOP GRATE & ROCK MESH
DFR32: 3X3 Disappearing Fountain Reservoir CompSQUARE BASIN W/ TOP GRATE & ROCK MESH DFR4: 4X4 Disappearing Fountain Reservoir Comp
SQUARE BASIN W/ TOP GRATE & ROCK MESH
- Reinforced reservoir
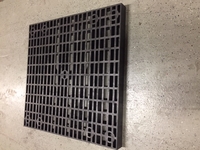
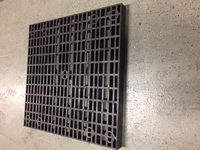
- Reinforced grating
- 1/4" plastic mesh
Reservoir, Grate and Mesh sold separately
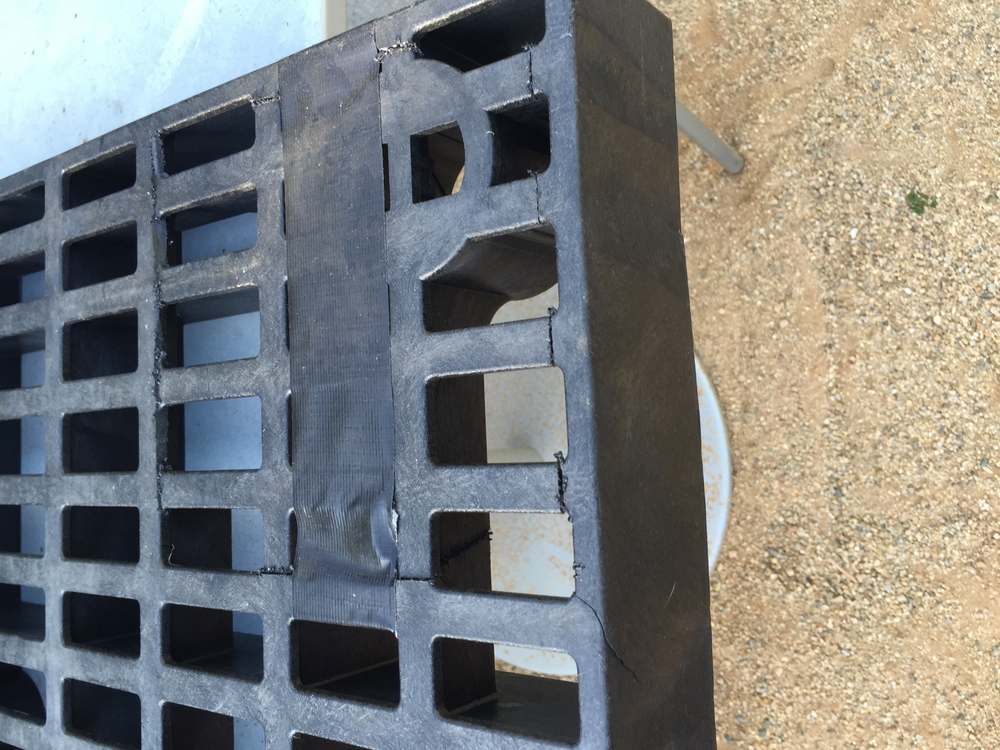
Note: All of them are angle-cut in the corner as an �access
door� for the pump & plumbing underneath. The grates are duct-taped as a
precaution to prevent potential loss in shipment. The nature of the angle-cut will actually keep the access door from
falling into the basin itself.
Reservoirs:
|
Part Number |
Description |
Gallon Capacity |
Dimensions |
|
DFR2 |
27" Reservoir |
35 |
27" x 27" x 12" |
|
DFR3 |
39" Reservoir |
75 |
39" x 39" x 12" |
|
DFR4 |
51" Reservoir |
130 |
51" x 51" x 12" |
Grates:
Part Number
Description
51G2X2
24" x 24" Grate for DFR2 Reservoir
51G3X3
36" x 36" Grate for DFR3 Reservoir
51G2X4
24" x 48" Grate for DFR4 Reservoir(Requires 2)

backfill around reservoir

backfill around reservoir

install grating & netting

connect tubing

cover with rock topping
- Dig your hole about 11�-12″ deep and fill the bottom with 2″ of sand.
- Place the reservoir in the excavation and level.
- Backfill soil around the box packing in firmly.
- Place the cinder blocks in the box; one in each corner and one bridging the adjoining pieces of grating (including the trap door).
- Place 2-3 cinder blocks (depending on the piece) in the middle. For light pieces place the grating on top of the cinder blocks. Heavy pieces require several cinder blocks and must sit directly on the blocks with the grate cut away to go around the piece.
- Place the mesh over the grating; cut a hole in the mesh for the tubing.
- Connect the tubing to the piece (leave a fairly long piece of tubing exiting the fountain.)
- We use a stand pipe inside pots to create a nice plume of water over the top of the pot and to keep the pot from draining when the pump is off. Click here for more detail on plumbing a pot for use as a fountain.
- Connect the tubing to the pump and clamp.
- Thread the tubing through the cracks of the grating and slowly lower the piece into place. Once in place, level the pot using shims. Shims should only be placed directly over the thick supports in the grating to avoid sagging and shifting. Click here for more detail on proper shimming techniques.
- Place the pump inside the box. We recommend using a Danner Screen on the intake of the pump to protect the intake of the pump.
- Put the decorative topping around the piece on top of the grating and mesh.
- Turn on pump and enjoy.
We�ve learned this the hard way; always connect the tubing to the piece and then to the pump not the other way around. We also recommend installing a valve on all pumps to control the flow of water coming out of the piece to match your expectations.
Note: Thanks to Nelson WaterGardens for these Instructions